
 admin
admin
Good product photos can make the difference between someone scrolling past your listing and someone clicking “Buy.” Learning how to photograph items to sell online does not require an expensive camera, studio, or professional photography experience. A clean phone camera, good light, and a simple setup can produce strong results.
Online shoppers cannot pick up your product or inspect it in person. Your photos need to show its appearance, condition, size, details, and any flaws clearly. This is especially important when selling on marketplaces such as eBay, Etsy, Facebook Marketplace, Depop, Poshmark, or your own website.
Why Product Photos Matter When Selling Online
Photos are often the first thing a potential buyer notices. A good image can quickly communicate what the item is and what condition it is in.
Strong listing photos can help you:
- Get more clicks on your listing
- Build buyer confidence
- Show the actual condition
- Reduce unnecessary questions
- Make your listing look more professional
- Highlight useful features
- Reduce misunderstandings after a sale
The goal is not to make the item look better than it really is. The goal is to represent it accurately while making the listing visually appealing.
This is why how to photograph items to sell online is really about both presentation and honesty.
What You Need to Take Better Product Photos
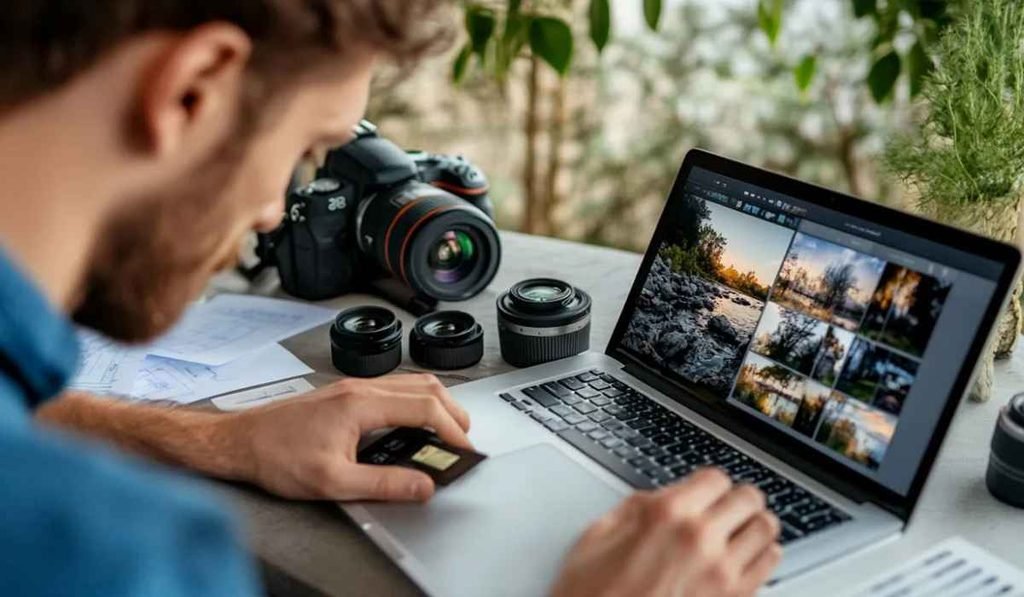
You can start with equipment you already have.
| Equipment | Beginner-Friendly Option | Purpose |
| Camera | Modern smartphone | Main product photos |
| Light | Window or soft LED light | Even illumination |
| Background | White wall, poster board, or sheet | Clean appearance |
| Tripod | Basic phone tripod | Stable images |
| Reflector | White cardboard | Reduces harsh shadows |
| Cleaning cloth | Microfiber cloth | Removes dust and fingerprints |
| Measuring tape | Standard tape measure | Shows size when useful |
A newer smartphone is helpful, but technique matters more than having the latest device.
Avoid using flash unless you have a specific reason. Direct flash can create harsh highlights and dark shadows, especially on shiny products.
How to Photograph Items to Sell Online With Natural Light
Natural light is one of the easiest ways to improve product photography.
Place the item near a large window and position it so the light falls across the product rather than directly behind it.
Try this simple setup:
- Put the product on a clean surface.
- Place it about 1 to 3 feet from a bright window.
- Turn off strong overhead lights.
- Use a white board opposite the window if one side looks too dark.
- Take a test photo.
- Move the item slightly until the lighting looks even.
Avoid direct midday sunlight when possible. Strong sunlight can create hard shadows and bright areas where details disappear.
An overcast day can actually be excellent for product photography because clouds create soft, even light.
Choose a Clean Background
A distracting background can make an otherwise good product photo look messy.
For many products, a simple white, gray, beige, or neutral background works well.
You can use:
- White poster board
- Foam board
- A clean wall
- A plain table
- A neutral fabric backdrop
- A large sheet of paper
Make sure the background is clean and free from objects that compete with the product.
For lifestyle products, however, a natural setting can sometimes work better. For example, a handbag might look useful when photographed beside a simple outfit, while a kitchen item could be shown in a clean kitchen.
The important thing is that the setting supports the product rather than distracting from it.
Clean the Item Before Taking Photos
One of the easiest improvements is also one of the most overlooked.
Dust, fingerprints, pet hair, crumbs, and smudges can become very visible in close-up photographs.
Before photographing the item:
- Wipe hard surfaces
- Remove dust
- Clean glass
- Polish suitable metal surfaces
- Remove loose threads from clothing
- Clean shoe soles when appropriate
- Straighten labels
- Remove temporary packaging
- Check for stains
Do not repair or alter an item simply to make it look better in photographs. If a mark or defect is part of the item’s condition, photograph it and mention it in the listing.
How to Photograph Different Angles

One photo rarely tells the whole story.
When learning how to photograph items to sell online, think like a buyer. What would you want to see before spending money?
For a typical product, photograph:
- Front
- Back
- Left side
- Right side
- Top
- Bottom when relevant
- Close-up details
- Labels or serial numbers when appropriate
- Accessories included with the item
- Any damage or defects
You do not necessarily need ten photos for every product. The number depends on the item.
A simple mug may need fewer images than a used laptop, designer handbag, camera, or collectible.
Show Condition Honestly
A common mistake among new sellers is photographing only the best-looking side.
That can lead to disappointed buyers.
If the product has scratches, dents, stains, cracks, fading, missing buttons, or other issues, take clear pictures of them.
For used products, condition photos can actually build trust.
A buyer may still purchase an item with a small scratch if they know about it before ordering. They are much less likely to be happy if the scratch is hidden.
Use Close-Up Photos for Important Details
Close-ups are useful for:
- Brand logos
- Product labels
- Serial numbers
- Fabric texture
- Stitching
- Jewelry details
- Electronics ports
- Scratches
- Damage
- Special features
Keep the camera steady and make sure the detail is actually in focus.
Use the Right Camera Settings

Most smartphones can handle basic product photography without manual controls.
Before taking the picture:
- Clean the camera lens
- Tap the product on your screen to focus
- Keep the phone steady
- Avoid digital zoom
- Use the highest practical image quality
- Keep the camera level with the product when appropriate
Do not rely heavily on filters.
Heavy editing can change the item’s real color and create an inaccurate representation.
If you adjust brightness, contrast, or cropping, make sure the final image still looks like the actual product.
How to Photograph Clothing for Online Sales
Clothing needs a slightly different approach.
You can photograph clothing:
- Flat on a clean surface
- On a mannequin
- On a hanger
- Being worn, if appropriate and permitted
Lay the item flat and smooth out wrinkles before photographing it.
Take pictures of:
- Front
- Back
- Brand label
- Size tag
- Material tag
- Closures
- Patterns
- Unique details
- Any flaws
For shoes, show both shoes, soles, heels, insides, labels, and visible wear.
For bags, photograph the exterior, interior, straps, hardware, brand markings, and any damage.
How to Photograph Electronics
Electronics require more detail because buyers often want to know exactly what model they are getting.
Take photos of:
- Front
- Back
- Sides
- Ports
- Buttons
- Screen
- Model number
- Serial number when safe to show
- Included accessories
- Power adapter
- Packaging
If the device works, consider including a photo showing it powered on.
Do not expose private information on screens, labels, documents, or connected accounts.
How to Photograph Small Items
Small products such as jewelry, watches, collectibles, cosmetics, accessories, and trading cards need sharp close-ups.
A common problem is getting too close to the object and losing focus.
Instead:
- Place the item on a stable surface.
- Use plenty of soft light.
- Hold the phone steady.
- Tap the object to focus.
- Move the camera slightly farther away if needed.
- Crop the image afterward.
For very small products, a phone’s macro mode can help if your device has one.
Include a Size Reference When Helpful
Photos can sometimes make objects look larger or smaller than they really are.
For products where size is important, include measurements in the listing.
You can photograph a measuring tape beside:
- Furniture
- Bags
- Clothing
- Collectibles
- Handmade items
- Home decor
However, do not use random objects as size references if they could confuse buyers. Written measurements are more reliable.
How to Make Product Photos Look Professional
You do not need a studio to create a consistent look.
Try to keep the same:
- Background
- Lighting direction
- Camera angle
- Distance
- Editing style
Consistency becomes especially useful when you have many products listed.
If every item has a different background and lighting style, your store can look less organized.
A simple setup that you can repeat is often better than a complicated setup that takes too long.
Common Product Photography Mistakes
Even when you understand how to photograph items to sell online, a few simple mistakes can hurt your listings.
Blurry Photos
Use a tripod or stabilize your phone against a solid surface.
Dark Images
Move closer to a window or add soft lighting.
Too Much Background
Crop unnecessary space while keeping the entire product visible.
Heavy Filters
Avoid editing that changes the product’s actual color.
Reflections
Glass, polished metal, screens, and glossy packaging can reflect windows, lights, and even the photographer.
Move the light source or change the camera angle to reduce reflections.
Showing Only One Side
Buyers want enough information to understand exactly what they are purchasing.
Hiding Damage
Always photograph important flaws clearly.
A Simple Photo Checklist Before Publishing
Before you publish your listing, review every image.
Ask:
- Is the product in focus?
- Is the lighting bright enough?
- Is the background clean?
- Does the color look accurate?
- Can buyers see the entire item?
- Are important details visible?
- Have I shown defects?
- Are the photos free from unnecessary objects?
- Does the product look the same as the written description?
If the answer is yes, your photos are likely doing their job.
How to Photograph Items to Sell Online Faster
Speed matters when you are selling many products.
Create a small photography station where everything stays ready.
Keep your:
- Backdrop
- Tripod
- Lighting
- Cleaning supplies
- Measuring tape
in one place.
Then use the same basic process for every item.
This can turn photography from a time-consuming task into a quick part of your listing routine.
You can also photograph several products in one session if the lighting and setup remain consistent.
Should You Use AI or Background Removal?
In 2026, many editing tools can remove backgrounds, improve lighting, or create cleaner product images.
These tools can be useful, but sellers should use them carefully.
Do not use AI editing to add features that the product does not have or remove defects that buyers need to know about.
For marketplace listings, accuracy should come before visual polish.
A clean background removal can be helpful for some products, but your main images should still represent the actual item you are selling.
Frequently Asked Questions
- What is the best camera for photographing items to sell online?
- A modern smartphone with a clean lens, good focus, and sufficient lighting is usually enough for most beginner product listings.
- What background is best for online product photos?
- A clean, simple neutral background works well because it keeps attention on the product.
- How many photos should I take for an online listing?
- Take enough photos to show the product from useful angles, including important details, accessories, and visible flaws.
- Should I use flash when photographing products?
- Natural or soft artificial light is usually better than direct flash because it produces fewer harsh shadows and reflections.
- Should I edit photos before selling items online?
- Basic cropping and brightness adjustments are fine, but editing should not change the item’s true color, condition, or appearance.
Good product photography is less about owning expensive equipment and more about showing buyers exactly what they are getting. Once you create a simple setup and repeat the same process, taking listing photos becomes faster, easier, and much more consistent.