
 admin
admin
A Zoom microphone not working laptop problem usually comes down to the wrong input device, blocked microphone permissions, a muted mic, another app using the microphone, or an outdated audio driver.
It can be especially frustrating when your microphone works in other apps but suddenly stops working in a Zoom meeting. The good news is that most microphone problems can be fixed without replacing your laptop or buying a new headset.
Zoom’s own troubleshooting guidance recommends checking the physical microphone, Zoom’s audio settings, privacy permissions, other applications using the mic, antivirus software, drivers, and software updates.
If you are searching for Zoom microphone not working laptop solutions, work through the fixes below in order. Start with the simple checks before changing system settings.
Why Is My Zoom Microphone Not Working?
There are several reasons Zoom may not pick up your voice.
The most common include:
- Your microphone is muted.
- Zoom selected the wrong input device.
- Windows or macOS blocked microphone access.
- Your headset or USB microphone is disconnected.
- Another application is using the microphone.
- Your microphone input volume is too low.
- An audio driver needs updating.
- Antivirus software is blocking microphone access.
- Zoom needs an update or reinstall.
- Audio enhancements or manufacturer audio software are interfering.
Zoom supports built-in microphones as well as USB and Bluetooth microphones, so the troubleshooting steps can vary depending on the device you use.
Quick Troubleshooting Guide
| Problem | First Fix to Try | Difficulty |
| Zoom cannot hear you | Check mute and input device | Easy |
| Mic not listed | Reconnect microphone | Easy |
| Windows blocks mic | Change privacy permissions | Easy |
| Mac blocks mic | Allow Zoom in Privacy settings | Easy |
| Bluetooth mic fails | Reconnect Bluetooth | Easy |
| Mic works elsewhere | Check Zoom settings | Easy |
| Mic sounds very quiet | Increase input volume | Easy |
| Mic suddenly stopped | Restart laptop | Easy |
| Driver problem | Update audio driver | Medium |
| Nothing works | Reinstall Zoom | Medium |
1. Check if Zoom Is Muted
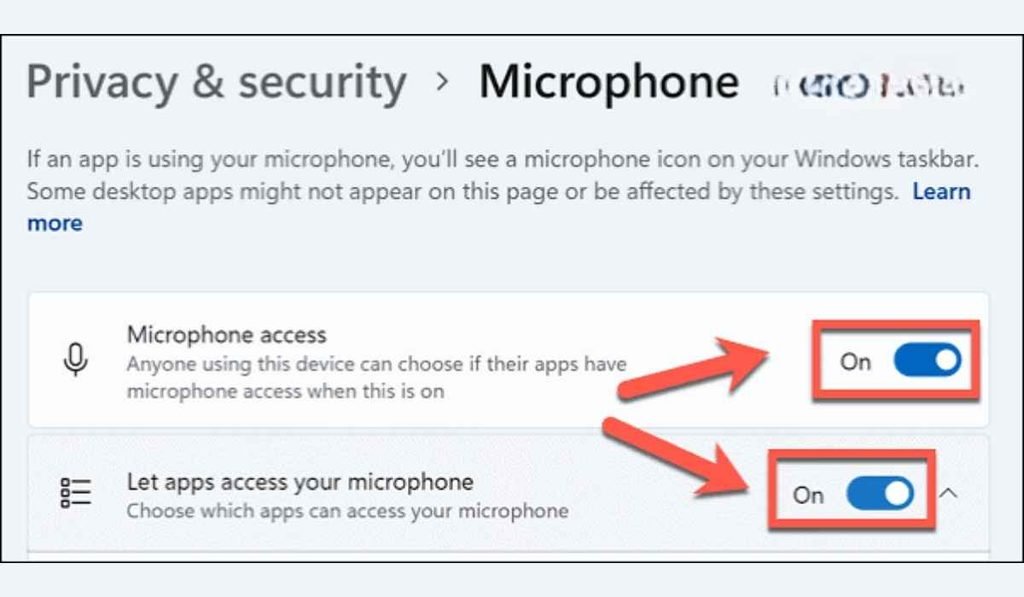
Before changing anything, check the microphone icon in your meeting controls.
If you see a muted microphone, click Unmute.
You can also use the keyboard shortcut:
- Windows: Alt + A
- macOS: Command + Shift + A
Zoom documents these shortcuts for quickly muting or unmuting your microphone.
Also check whether the host has muted you. If the microphone works normally outside the meeting but you cannot unmute yourself, the meeting’s participant controls may be involved.
2. Select the Correct Microphone in Zoom
A laptop can have several possible input devices. You might have a built-in microphone, wired headset, Bluetooth headphones, webcam microphone, or USB microphone.
Zoom may automatically choose one that you are not actually using.
To check:
- Open Zoom.
- Go to Settings.
- Select Audio.
- Find the Microphone section.
- Open the microphone dropdown.
- Select the microphone you want to use.
- Click Test Microphone.
Zoom’s microphone test shows an input-volume indicator when the app is receiving sound. You can also adjust the input volume from this screen.
If the bar moves when you speak, Zoom is detecting your microphone.
That means the issue may be related to meeting settings, muting, or the way the audio is being routed.
3. Test the Microphone Outside Zoom
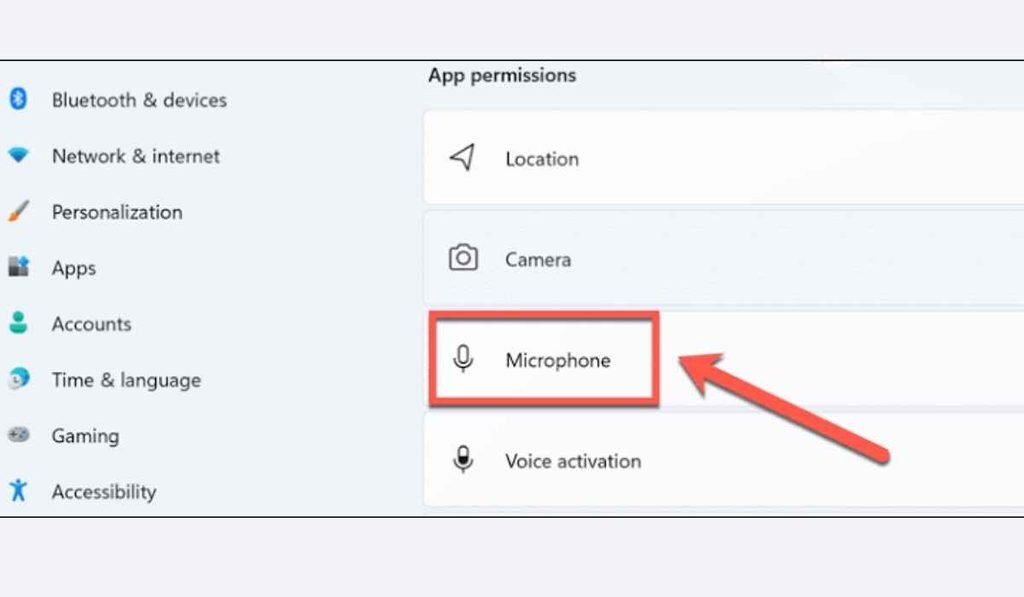
This is one of the best ways to identify where the problem is.
On Windows, open the system sound settings and test your microphone. On macOS, open System Settings > Sound > Input and check whether the input level responds when you speak.
If your laptop detects your voice outside Zoom but not inside Zoom, focus on Zoom’s settings and permissions.
If the microphone does not work anywhere, the issue is probably related to the operating system, hardware, drivers, or the microphone itself.
This simple test can save you from changing several Zoom settings unnecessarily.
4. Allow Microphone Access in Windows
Windows privacy settings can prevent Zoom from accessing your microphone.
For Windows 11 and current Windows versions:
- Open Settings.
- Select Privacy & security.
- Click Microphone.
- Turn on Microphone access.
- Turn on permission for apps to access the microphone.
- Make sure desktop applications can access the microphone.
Zoom’s current support documentation specifically recommends enabling microphone access and allowing desktop apps to use the microphone when Zoom cannot access it.
If you recently updated Windows, changed privacy settings, or installed security software, this is an especially important check.
5. Give Zoom Microphone Permission on Mac
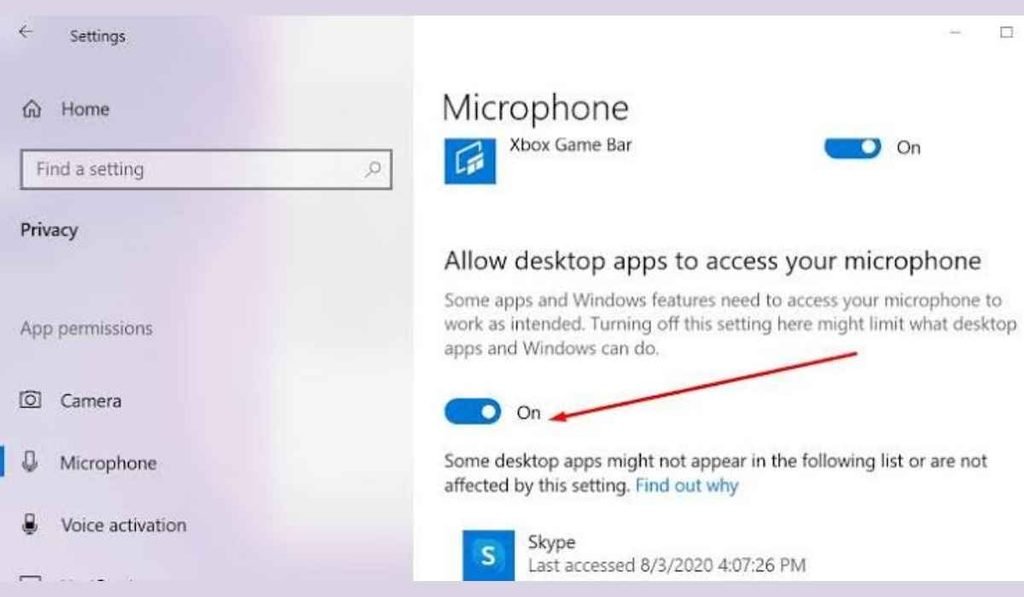
macOS also requires permission before applications can use your microphone.
If you have a Zoom microphone not working laptop issue on a MacBook, check:
Apple menu → System Settings → Privacy & Security → Microphone
Find Zoom and make sure microphone access is enabled.
If Zoom was previously denied permission, macOS may not automatically ask again. You may need to enable the permission manually and then restart Zoom.
Zoom says that after changing permissions, you may need to restart the application before the new settings take effect.
6. Reconnect Your Headset or USB Microphone
If you use an external microphone, check the physical connection.
For a USB microphone:
- Disconnect it.
- Wait a few seconds.
- Plug it into another USB port if available.
- Reopen Zoom.
- Select the microphone under Settings > Audio.
For wired headphones, make sure the connector is fully inserted.
For Bluetooth headphones, confirm they are powered on and connected to the laptop.
Zoom recommends reconnecting devices when they are not detected and checking that Bluetooth equipment is properly connected.
If your microphone does not appear in Zoom’s dropdown at all, the problem may exist outside Zoom.
7. Close Other Apps Using the Microphone
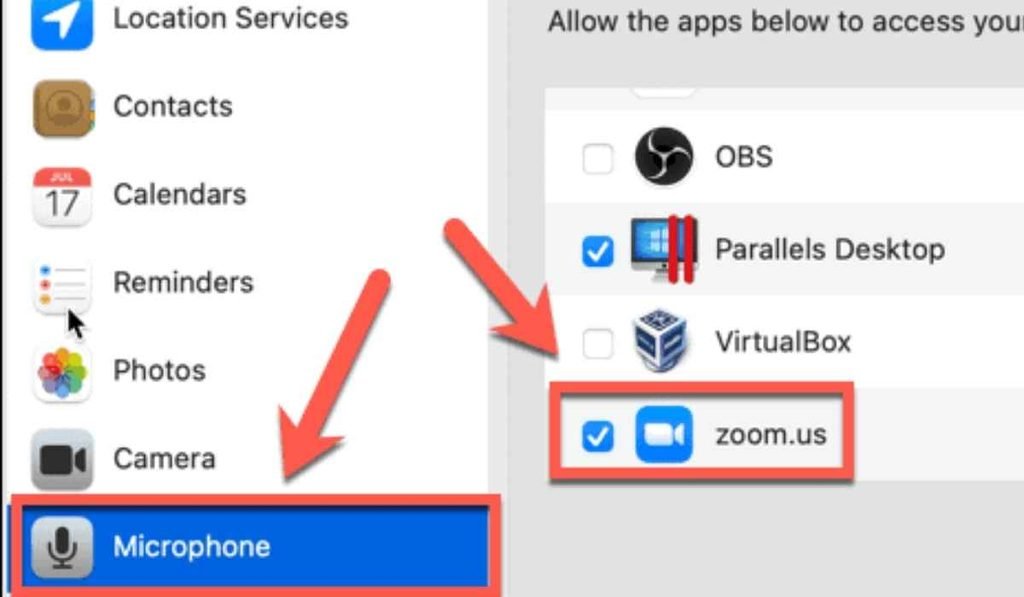
Another application may be using the microphone at the same time.
Common examples include:
- Microsoft Teams
- Google Meet
- Skype
- Discord
- OBS
- Voice recording software
- Browser tabs using microphone access
- Gaming or streaming applications
Close these programs and then restart Zoom.
Zoom’s troubleshooting guidance specifically recommends checking that other applications are not using the microphone at the same time.
This can be particularly useful when your microphone worked normally until you opened another communication or recording app.
8. Increase the Microphone Input Volume
Sometimes the microphone is working, but the input level is so low that other people cannot hear you.
Open Zoom’s Audio settings and look at the Microphone section.
You can:
- Run Test Microphone.
- Watch the input meter while speaking.
- Increase the input volume.
- Try automatic microphone volume adjustment.
Zoom provides both microphone testing and input-volume controls in its audio settings.
If the input bar barely moves, check your laptop’s system microphone volume too.
Also make sure your headset does not have a physical mute switch. Some headphones have a button or slider that can mute the microphone independently of Zoom.
9. Update Your Audio Drivers
A Windows audio driver problem can make a microphone disappear or stop working correctly.
If Zoom and Windows both have trouble detecting the microphone, check Device Manager and look under audio-related devices.
You can also visit your laptop manufacturer’s official support page and look for updated audio drivers for your exact model.
Zoom recommends checking for audio-driver updates and reinstalling audio drivers when necessary.
On some Windows 11 laptops, manufacturer audio software can also interfere with audio processing. Zoom has documented issues involving software such as MaxxAudio, Bang & Olufsen, LG Smart Assistant, Realtek Audio Console, and Dolby Atmos, and recommends updating drivers or disabling audio enhancements when they cause problems.
10. Restart, Update, or Reinstall Zoom
If the microphone suddenly stopped working, restart Zoom first.
If that does not help, restart the laptop.
Then check whether you are running the latest Zoom version. Zoom’s general audio troubleshooting guidance recommends using the latest version, installing available operating-system updates, and reinstalling the application if necessary.
A clean reinstall can help when:
- Zoom detects the microphone incorrectly.
- Audio settings appear stuck.
- The application behaves differently from other programs.
- A recent update caused unexpected behavior.
- The microphone works in the browser but not the desktop application.
After reinstalling, give Zoom microphone permission when Windows or macOS asks.
What If Zoom Works in the Browser but Not the App?
Try the Zoom Web App as a diagnostic test.
If your microphone works in the browser but not in the desktop application, the laptop’s microphone itself is probably fine.
The issue may instead be related to:
- Zoom desktop settings
- Application permissions
- A corrupted installation
- Audio drivers
- Third-party audio software
When using Zoom in a browser, you must also give the browser permission to access the microphone. Zoom’s current web-app instructions explain that microphone access must be allowed at both the browser and operating-system levels in some configurations.
What to Do If Your Microphone Is Still Not Working
If you have tried the basic fixes and a Zoom microphone not working laptop problem remains, narrow down whether the problem is hardware, Windows/macOS, or Zoom.
Try these checks:
- Connect a different microphone to the laptop.
- Test the original microphone on another computer.
- Test the laptop’s built-in microphone.
- Check microphone permissions again.
- Update your operating system.
- Update your audio drivers.
- Close all other communication apps.
- Temporarily check whether antivirus software is blocking microphone access.
- Reinstall Zoom.
Zoom notes that some antivirus products can prevent applications from accessing a microphone, so security software is worth checking if everything else appears correct.
If a second microphone works normally while the original does not, the original device or its connection is likely the problem.
If no microphone works anywhere on the laptop, investigate the operating system or hardware rather than repeatedly changing Zoom settings.
A Simple Fix Order to Save Time
When you need to solve a Zoom microphone not working laptop issue quickly before a meeting, use this order:
Mute check → Select microphone → Test microphone → Check Windows/macOS permissions → Reconnect device → Close other apps → Check volume → Update drivers → Update Zoom → Reinstall Zoom
This order starts with the easiest fixes and gradually moves toward more technical solutions.
Before Your Next Zoom Meeting
A 30-second audio test can prevent an embarrassing meeting problem.
Before joining an important call:
- Open Zoom’s audio settings.
- Select the correct microphone.
- Click Test Microphone.
- Speak for a few seconds.
- Confirm the input meter moves.
- Check your headset for a physical mute switch.
Zoom provides a dedicated microphone test specifically for checking whether your input device is working before or during a meeting.
FAQs
- Why is my Zoom microphone not working on my laptop?
- The most common causes are incorrect microphone selection, blocked permissions, muting, device connection problems, or audio-driver issues.
- How do I test my laptop microphone in Zoom?
- Open Zoom Settings, select Audio, choose the microphone, and click Test Microphone to check whether Zoom receives your voice.
- Why can Zoom not detect my external microphone?
- Reconnect the microphone, check that the operating system recognizes it, and then select it manually in Zoom’s Audio settings.
- Can Windows privacy settings stop Zoom from using my microphone?
- Yes, Windows can block microphone access until microphone and desktop-app permissions are enabled.
- Should I reinstall Zoom if my microphone still does not work?
- Yes, reinstalling Zoom is a reasonable later troubleshooting step after checking permissions, devices, drivers, and audio settings.
A Zoom microphone not working laptop problem is usually easier to solve than it first appears. Start with the microphone selection and permission settings, then move toward drivers and reinstalling the app only if necessary. In many cases, a quick settings change is all it takes to get your voice back before the next meeting.
For business inquiries, feedback, or guest post opportunities, contact timesstock1@gmail.com.






[…] needs a stable connection while it processes and prepares your design. If the editor shows Reconnecting, Canva says the network connection may have timed […]